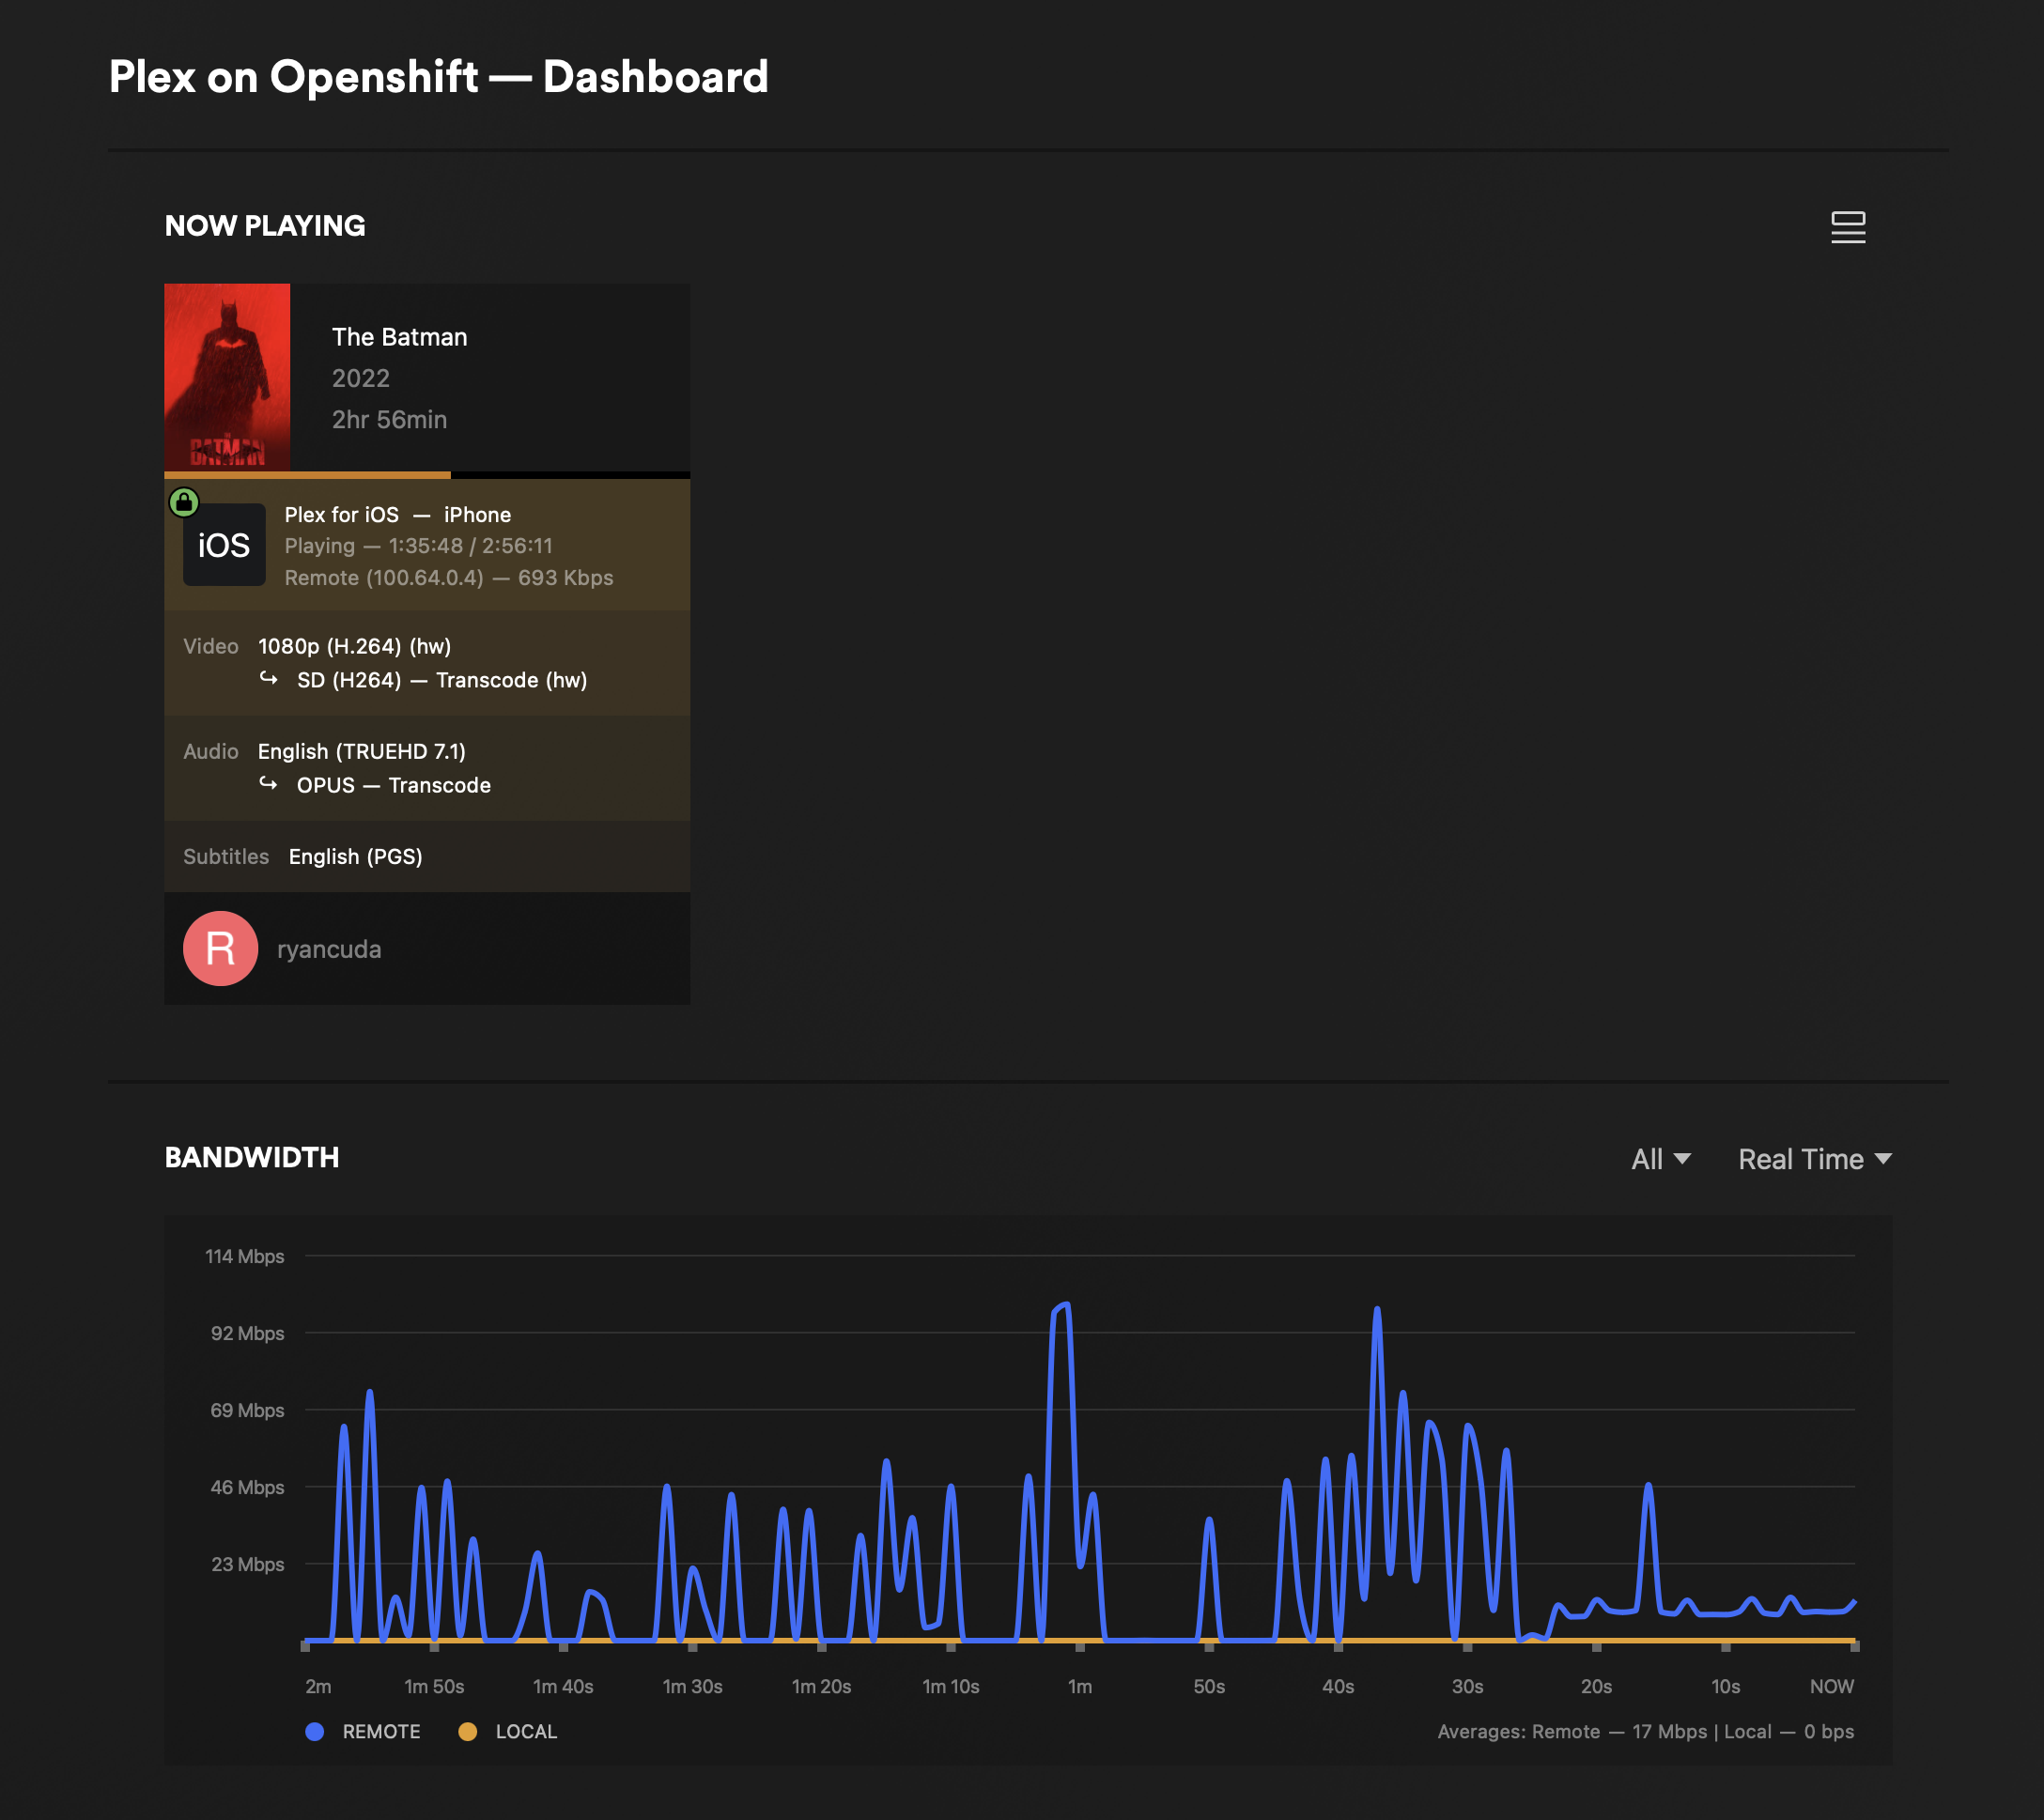
Intel GPU Pass Through to Plex on Openshift
About 2 years ago, I started migrating all of my old VM based services to containers, and for the most part the experience has been great. Embracing full app modernization and shifting from servers to containers and microservices has made it faster and easier than ever before to deploy, manage or update workloads with close to zero downtime. But ever since I pulled the trigger and jumped into the kubernetes world with both feet, there has been one thing that I haven't been able to accomplish that I used to be able to do on VMs:
Passing through a GPU to a container
It is surprising to me, to say the least, that Nvidia - a company that is famously bad about working with the Open Source Community - are (and have been) the dominant player in this area. If you have Nvidia GPUs, you can simply use the Nvidia GPU operator to present them to containers. However, if you have Intel or AMD, for quite a while you would have been left out in the cold. This has recently changed with the availabilty of the Intel Device Plugins Operator (and a similar project has popped up recently for AMD ). And when I say recently, I mean it. The Intel Device Plugins operator has only been supported since Kubernetes 1.26, and only just recently has it become generally available as an operator on Openshift 4.14.
My production Openshift cluster has Intel Mobile HD630 GPUs. They're nothing to write home about, but they are more than adequate for offloading hardware transcoding jobs on eg; Plex or Jellyfin, taking the load off of the CPU and preventing severely impacting performance of other workloads on my cluster, which is huge given the relatively limited resources in my homelab.
This morning I was able to successfully pass through a GPU to a Plex pod using the Intel Device Plugin operator after a little tweaking.
Step 1. Install the Intel Device Plugin Operator
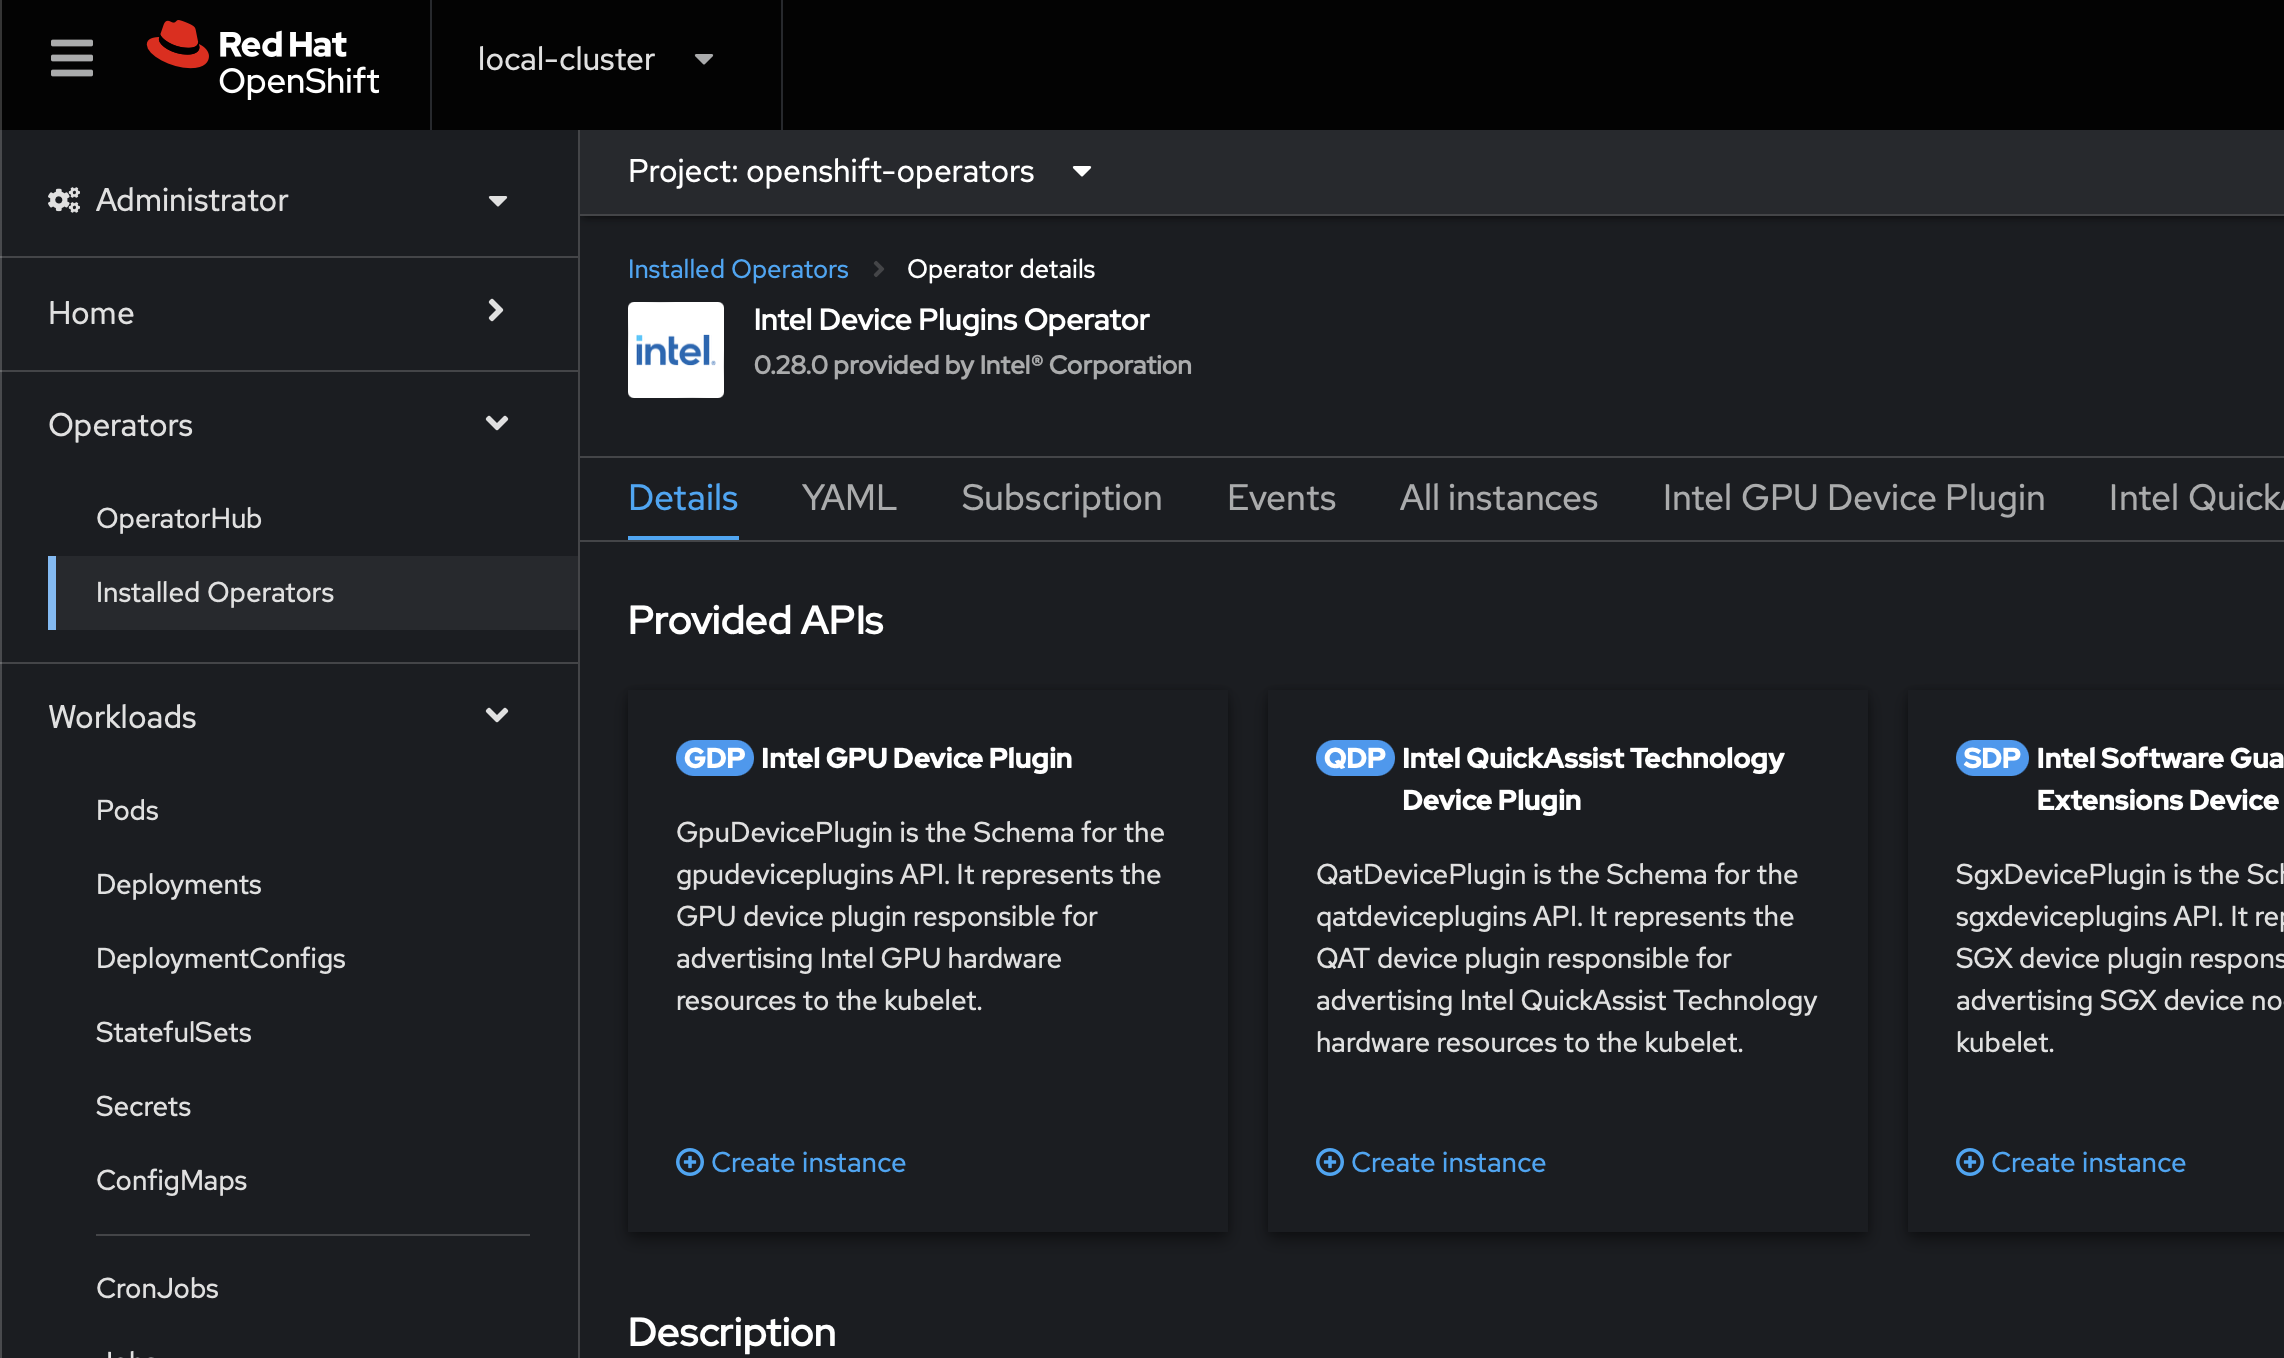
The Intel Device Plugin Operator is available from the Operator Hub. Just search for Intel and it should be the first thing that pops up.

Step 2. Label your nodes
before you can configure the Intel GPU Plugin to claim GPUs you need to label the nodes you want to allow GPU pass thru on. Two caveats;
first, the node must have an Intel GPU (duh...)
second, you cannot have the GPU configured to use the vfio-pci driver for passthrough to VMs. You get one or the other with this operator
apply the following label to each node you wish to pass through a GPU from
oc label node worker01 intel.feature.node.kubernetes.io/gpu=true
Step 3. Create the Intel GPU Plugin instance
Once you've labeled your nodes accordingly, you can create an Intel GPU Plugin instance. In my experience, this should exist in the openshift-operators namespace. You might be able to move it to a different namespace, but this is what it defaulted to on my cluster, and seems to work fine from there.
In the Openshift web UI, navigate to Operators > Installed Operators > Intel Device Plugin Operator and select create instance under the Intel GPU Plugin
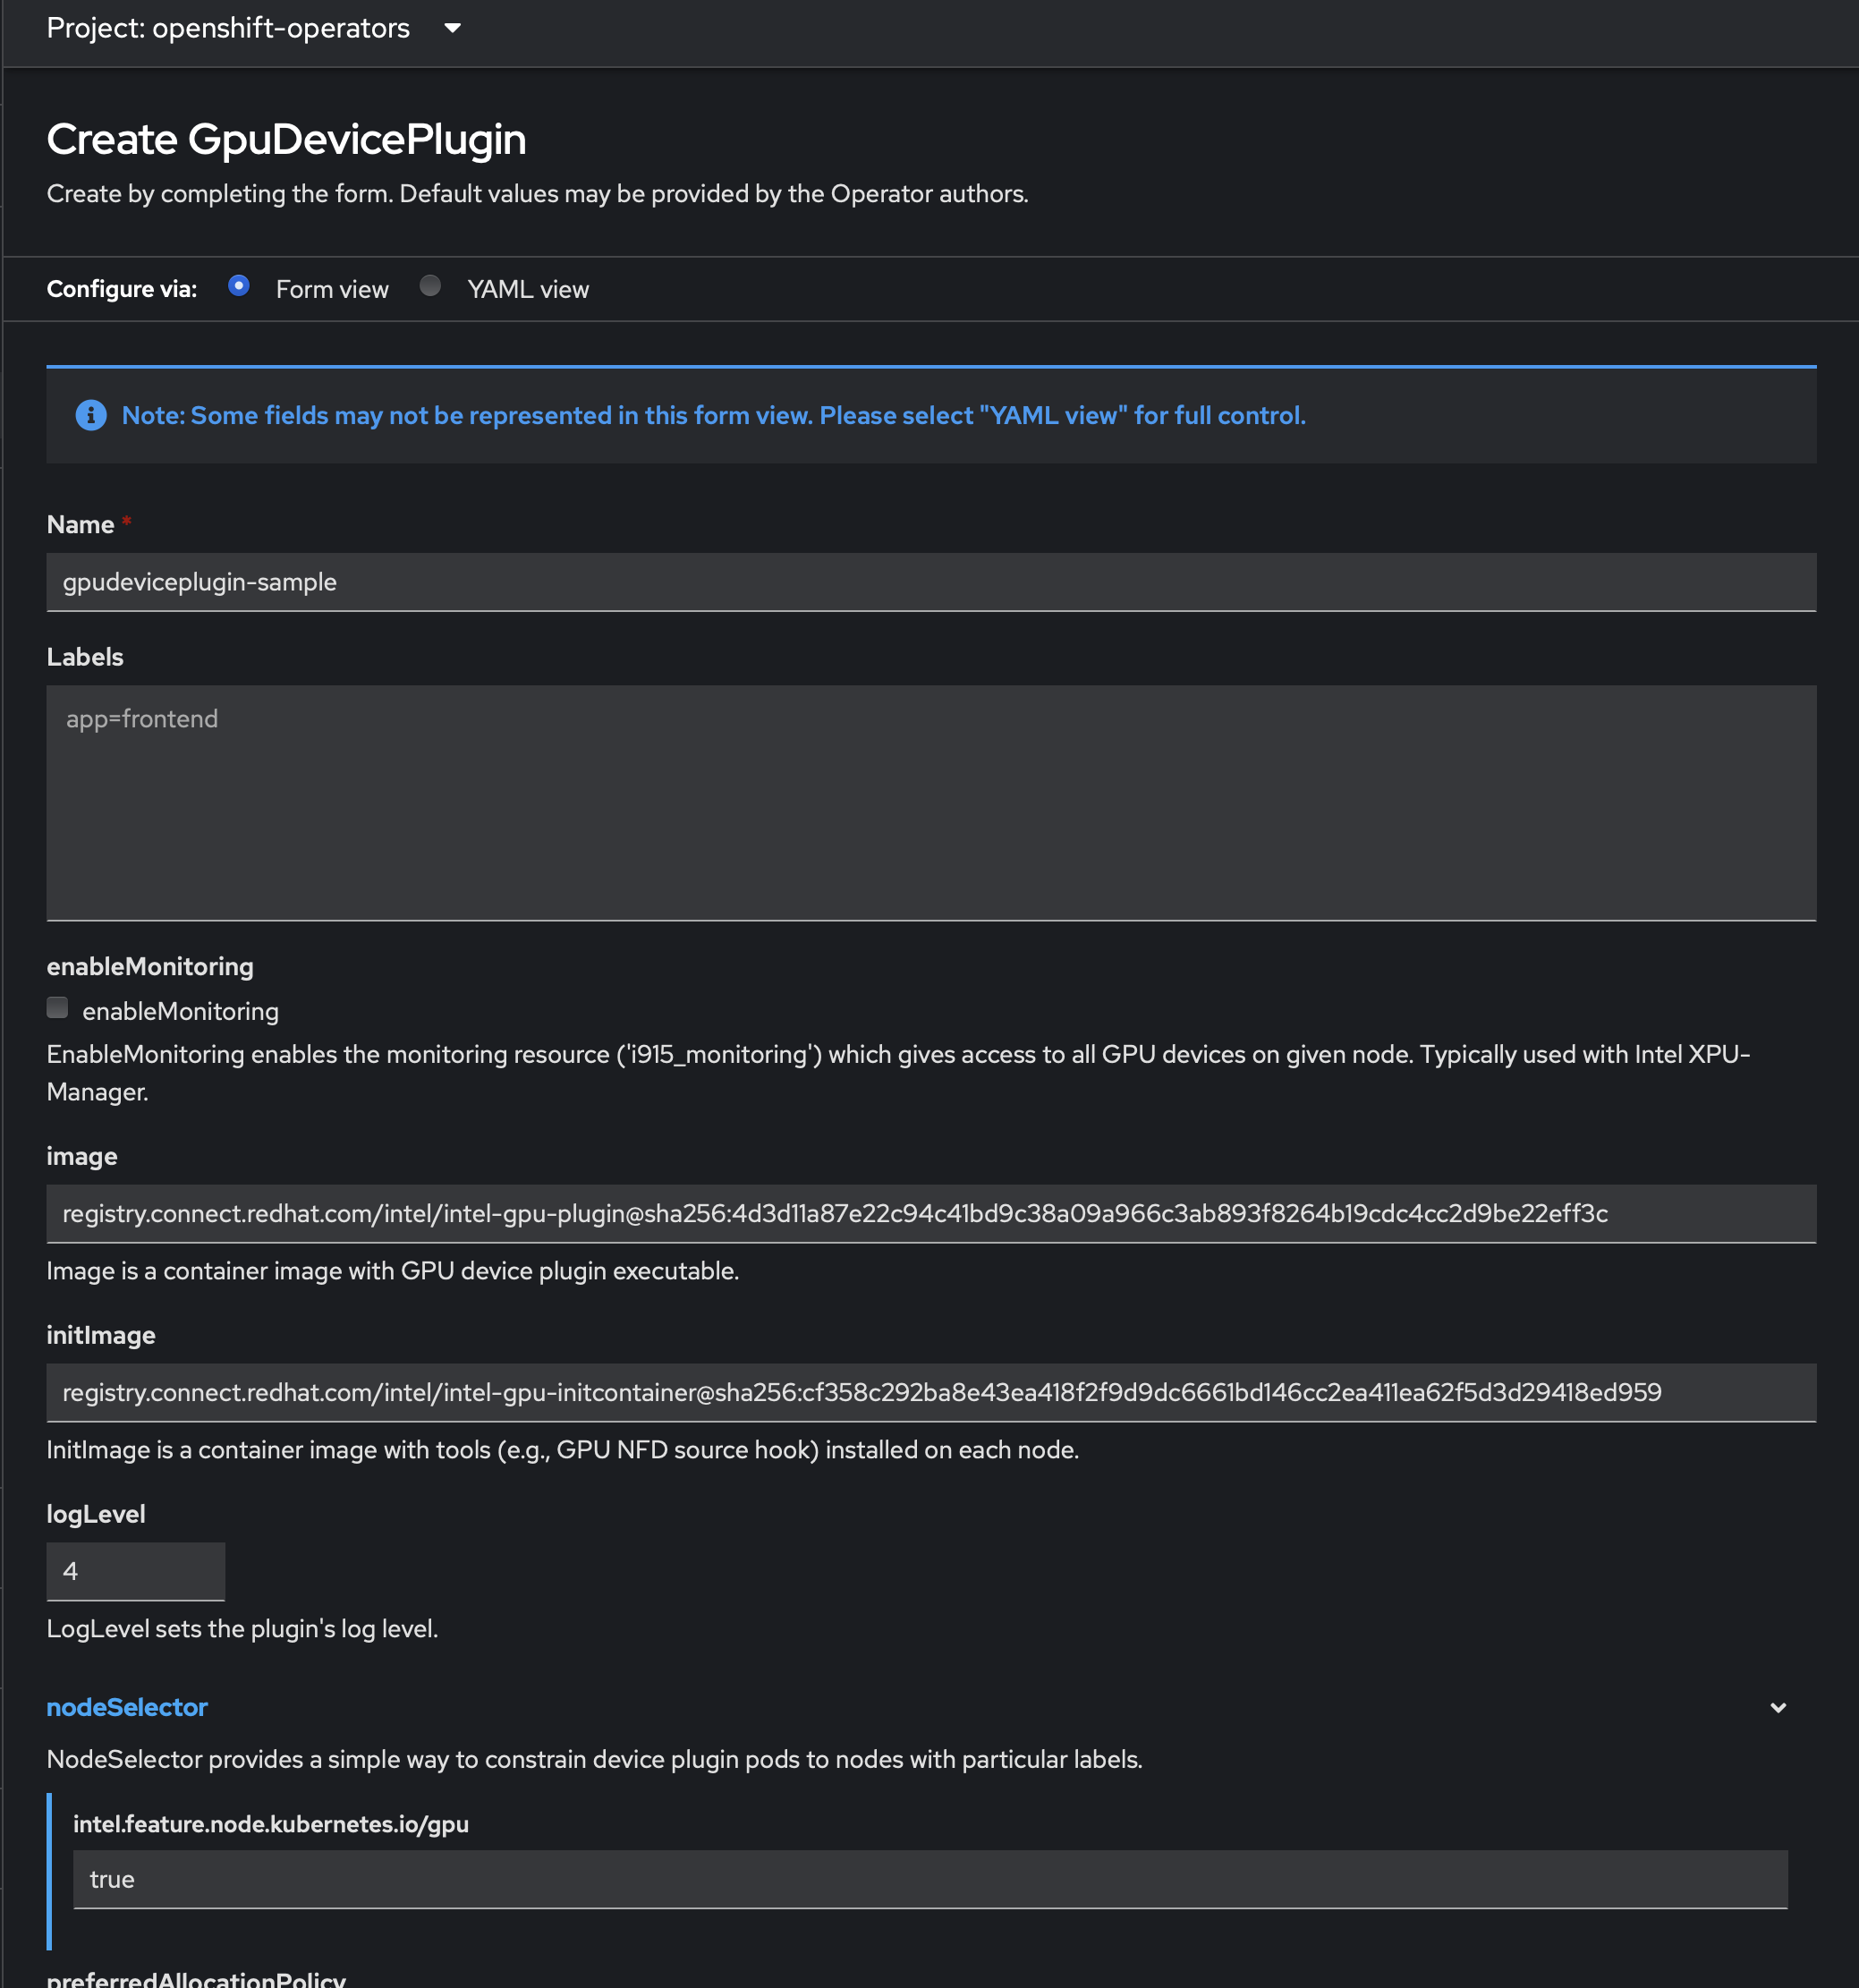
You may call the GPD (GpuDevicePlugin) instance whatever you like. Note the node selector label must be set to 'true' in order for your plugin to claim any GPUs
Step 4. Patch the daemonset
One would think that anything that lands itsself in the Openshift Operator Hub would be thoroughly tested for regressions like this, but this is where I hit my first major snag. Once you create the Intel GPU Plugin instance in the previous step, it's going to try and spin up a daemonset which will create 1 or more pods that immediately crash loop on you. After examining the logs on the pods, it turns out they're crashing due to a permissions error. To fix this, you need to allow these pods to run as privileged pods - a potential security risk, but necessary considering that by definition they need low level hardware access.
oc edit daemonset intel-gpu-plugin -n openshift-operators
locate the stanza
        securityContext:
          allowPrivilegeEscalation: false
          readOnlyRootFilesystem: true
          seLinuxOptions:
            type: container_device_plugin_t
and change to
        securityContext:
          privileged: true
          readOnlyRootFilesystem: true
          seLinuxOptions:
            type: container_device_plugin_t
Now your pods should show up. You can check the status on your GPD, eg;
oc get GpuDevicePlugin i915 -oyaml
which should now display all labeled nodes as ready
status:
  controlledDaemonSet:
    apiVersion: apps/v1
    kind: DaemonSet
    name: intel-gpu-plugin
    namespace: openshift-operators
    resourceVersion: "73616463"
    uid: be591e82-e168-4450-a345-150191a6db47
  desiredNumberScheduled: 7
  nodeNames:
  - worker01
  - worker02
  - worker03
  - worker04
  - worker05
  - worker06
  - worker07
  numberReady: 7
Step 5. Verify your GPUs are claimed
You can verify that your nodes in fact have an i915 device that is allocatable
oc get nodes -o=jsonpath="{range .items[*]}{.metadata.name}{'\n'}{' i915: '}{.status.allocatable.gpu\.intel\.com/i915}{'\n'}"
which should output something like this
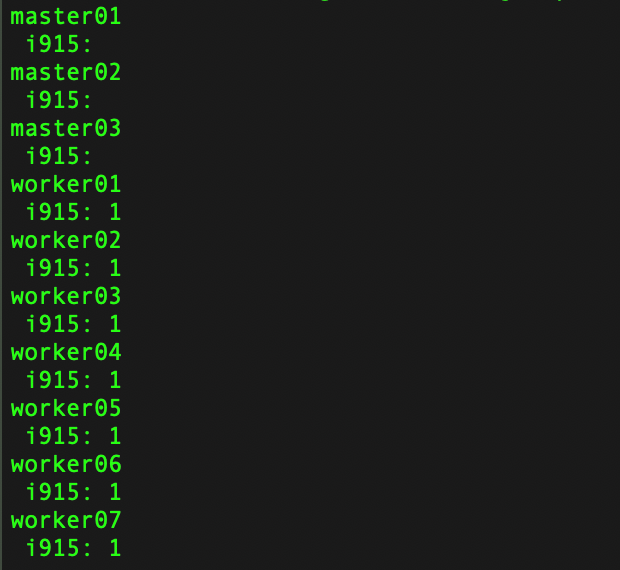
Now that we've verified that we have GPUs available to use with container workloads we can proceed.
Step 6. Modify deployment
We'll use Plex as an example. Under the plex namespace, edit the deployment. You need to add the GPU to the requests, much like you would cores or memory, eg;
spec:
  progressDeadlineSeconds: 600
  replicas: 1
  revisionHistoryLimit: 10
  selector:
    matchLabels:
      deployment: plex
  strategy:
    rollingUpdate:
      maxSurge: 25%
      maxUnavailable: 25%
    type: RollingUpdate
  template:
    metadata:
      creationTimestamp: null
      labels:
        deployment: plex
    spec:
      containers:
...
        resources:
          limits:
            cpu: "2"
            gpu.intel.com/i915: "1"
            memory: 16Gi
          requests:
            cpu: 500m
            memory: 2Gi
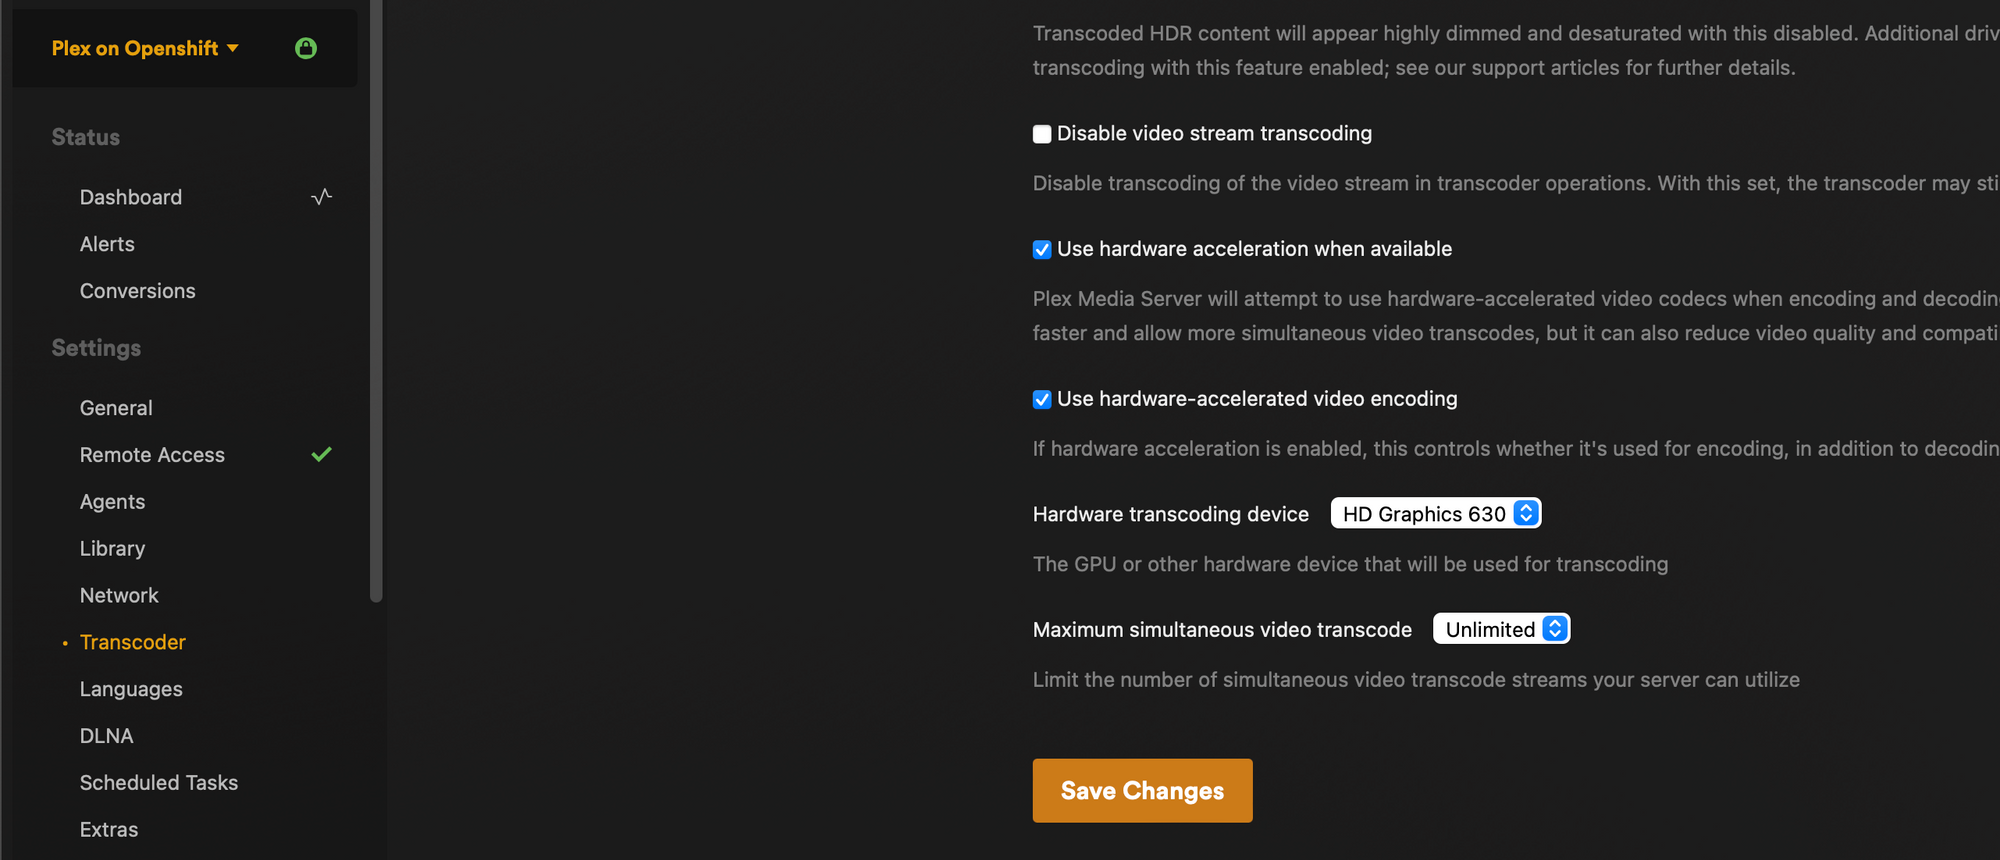
Assuming all went well, your new pod should spin up and have a GPU. On Plex you can verify by logging in to the web UI and navigating to settings > your server > settings > transcoder and verify that you can select your GPU from the drop down menu under hardware transcoding device
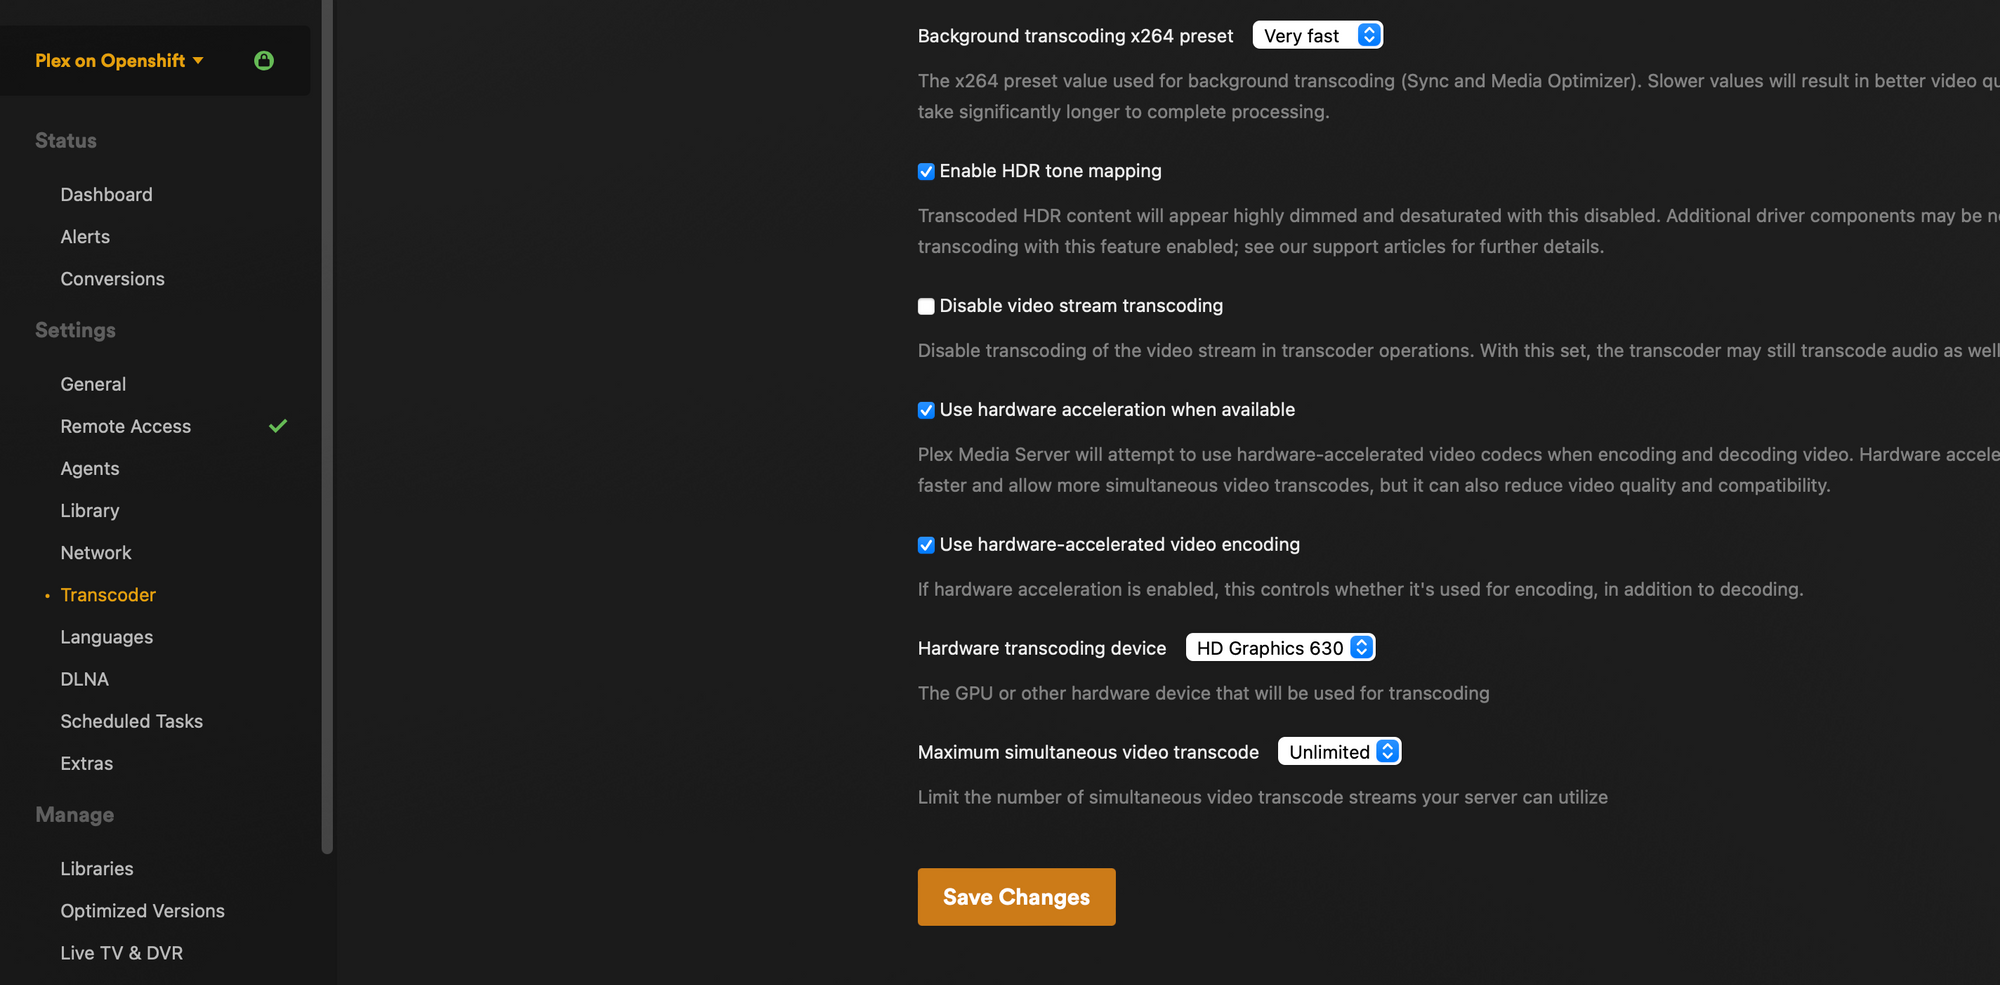
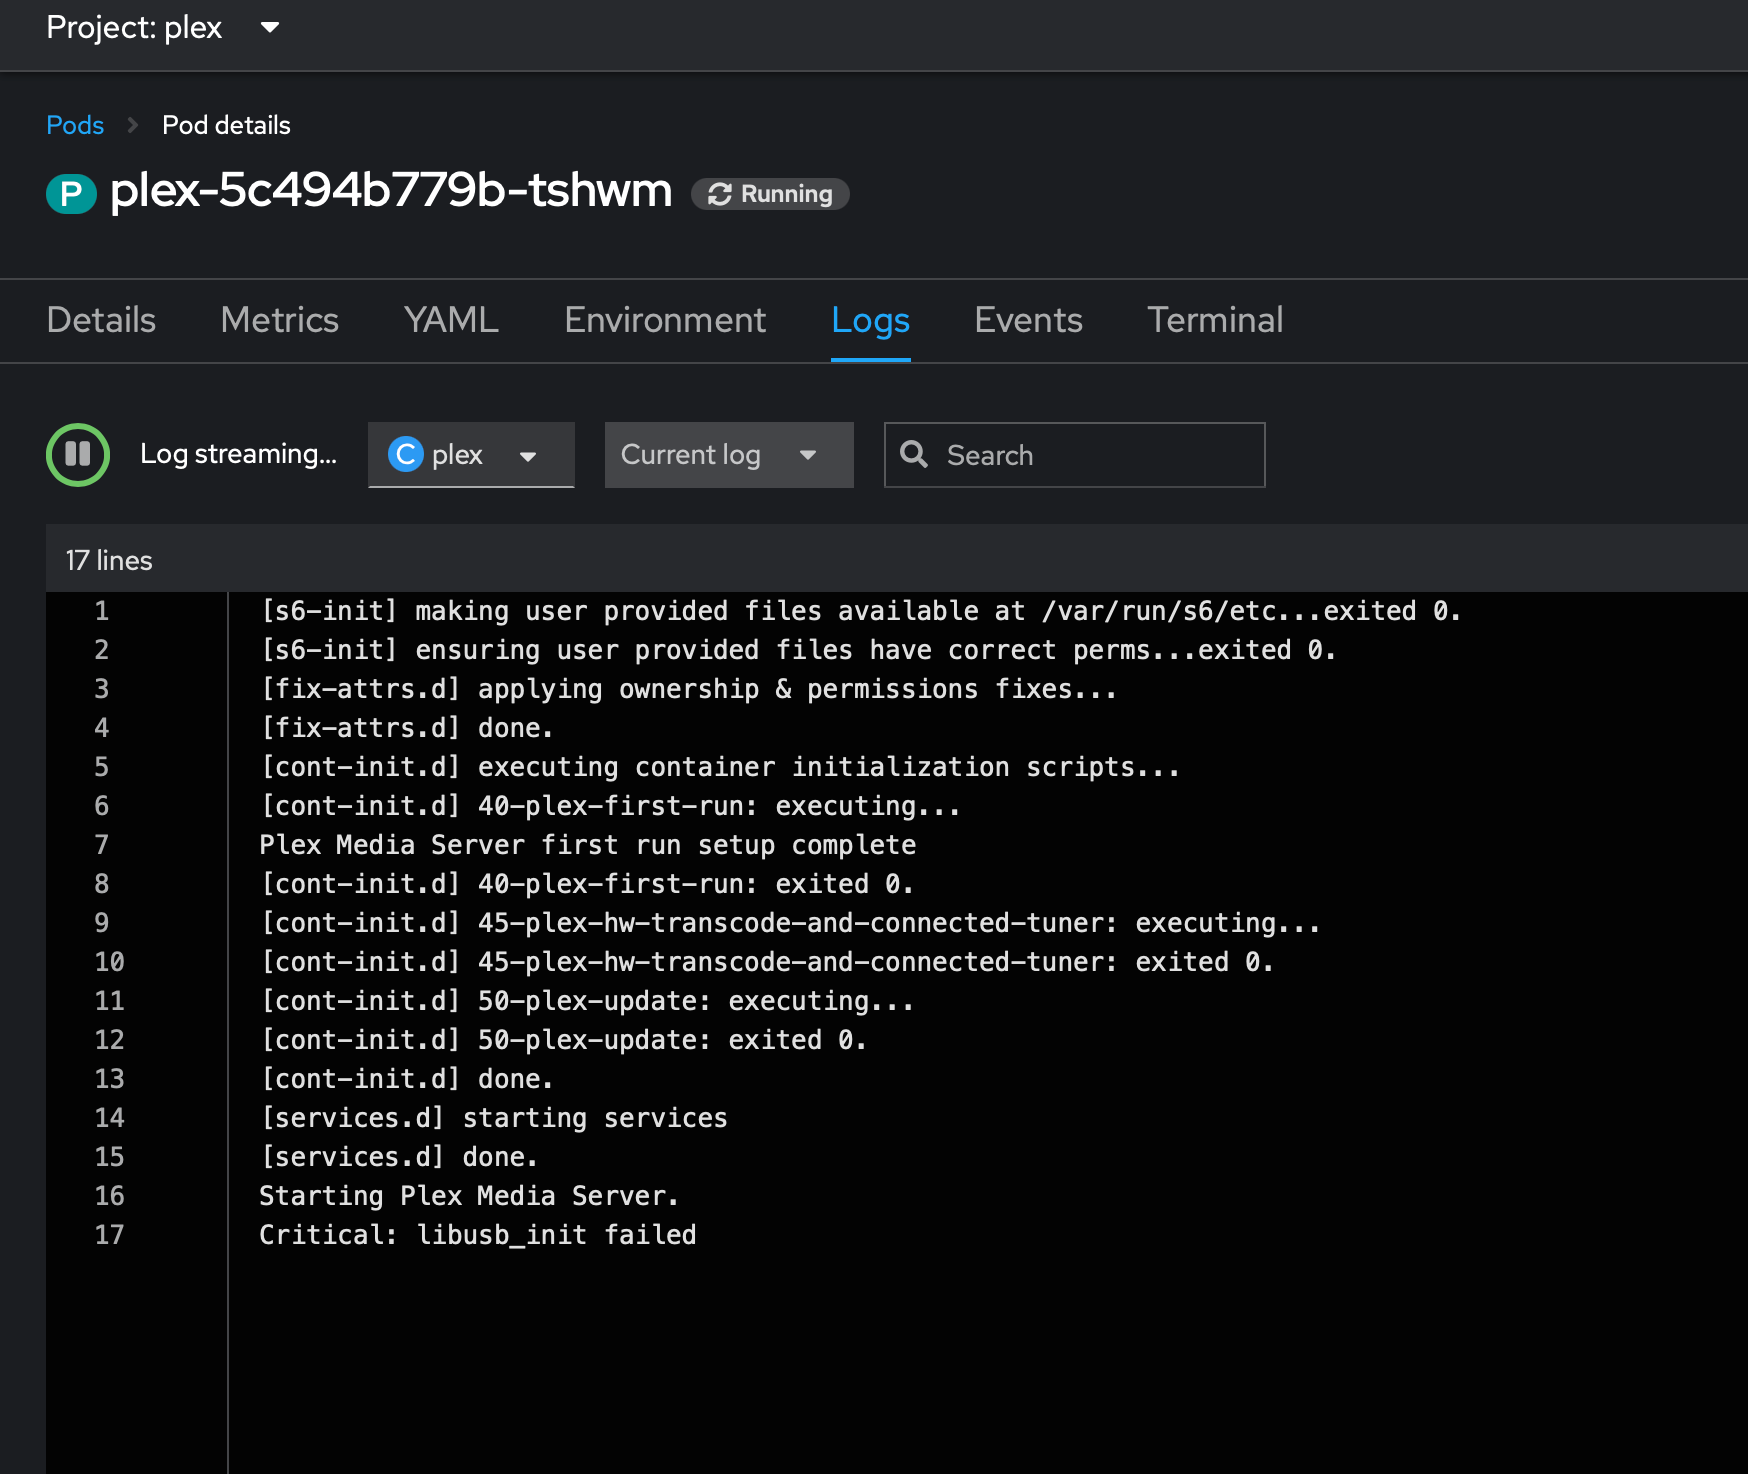
You should also see notes about your GPU in the logs on the pod
That's it. Enjoy your hardware assisted transcodes without hammering the CPU
